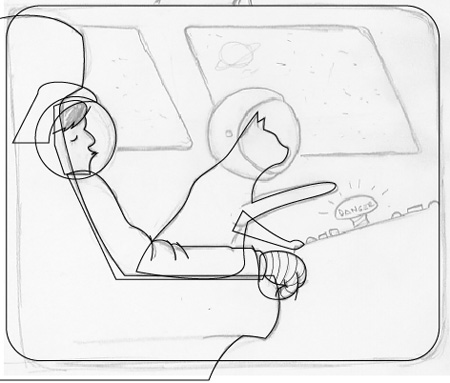
Here’s a practical tip you can use to “scan” artwork using MacBook’s built in isight camera. The process I use when beginning an illustration is to do a quick pencil sketch,
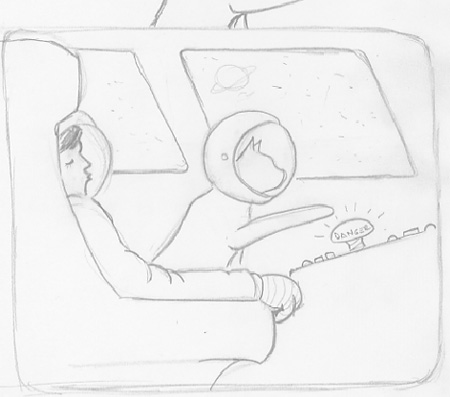
scan it, place it in Illustrator, set the opacity to 50%, lock it’s layer and “trace” over it.
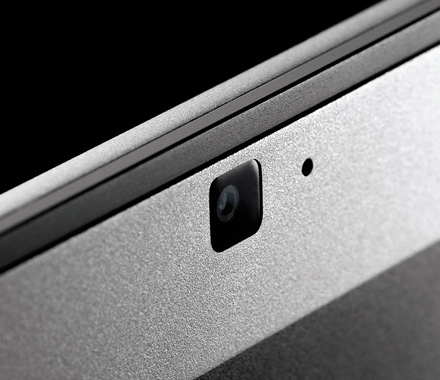
Recently my scanner, printer all-in-one deal, gave up the ghost. It wasn’t exactly high quality but we had a good relationship and I was sad to see it go. Before I had a chance to replace it, I was up against a tight deadline. I grabbed my Moleskine and did a couple of quick sketches. Then I remembered, I had no scanner. How would I get the sketches into Illustrator. I considered snapping a digital photo of it but with multiple cords and unintuitive software my camera is more trouble than it’s worth. It could work in a pinch, but then that tiny little camera staring at me from above my laptop screen caught my eye.
I launched “Photo Booth” and grinned gleefully as the LED lit and my ugly mug appeared on screen before me like some kind of Jetson’s inspired mirror. I grabbed the Moleskine, held it up to the camera and snapped a perfectly traceable, albeit flipped, image for me to trace.
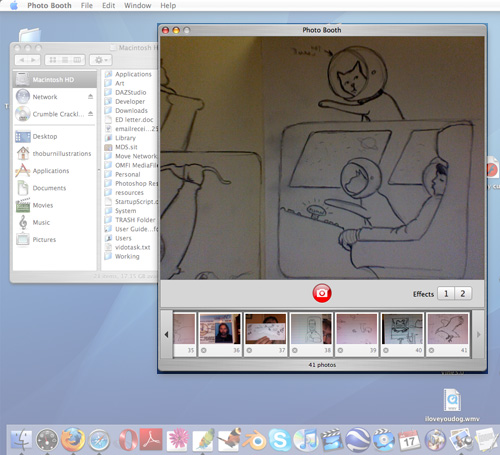
As you can see, I’ve been using my isight camera in this capacity for awhile. So what do you do if you don’t have a MacBook? Get one, it might be better than a new scanner!
LOL. Glad to see I’m not the only one doing this! btw… photo booth has some flip image menu item somewhere… Really like that panel!